Garage doors play a crucial role in our daily lives, providing security and convenience. The Ridgeline Garage Door Opener is a reliable and efficient solution that ensures smooth operation of your garage door. In this step-by-step guide, we will walk you through the process of setting up your Ridgeline Garage Door Opener, so you can enjoy hassle-free access to your garage. Let’s get started!

Understanding the Ridgeline Garage Door Opener
Before diving into the installation process, it’s essential to familiarize yourself with the Ridgeline Garage Door Opener and its features. This opener is known for its durability and compatibility with various garage doors. With its advanced functionalities, it offers ease of use and enhanced security for your garage.
Preparing for Installation
To begin the installation, gather all the necessary tools and equipment recommended by the manufacturer. It’s important to have everything within reach to ensure a smooth installation process. Measure your garage door carefully to ensure a proper fit for the Ridgeline Garage Door Opener. Additionally, clear any obstacles or debris in the garage door area to create a safe and unobstructed workspace.
Installing the Ridgeline Garage Door Opener
Step 1: Mounting the opener unit
Start by securely mounting the opener unit on the ceiling, following the manufacturer’s instructions. The correct placement of the opener is crucial for its optimal performance and longevity.
Step 2: Attaching the rail system
Connect the rail system to the opener unit, ensuring a secure fit. Adjust the rail length according to the height of your garage door. This step is essential to achieve smooth movement of the door along the rail system.
Step 3: Installing the garage door bracket
Attach the garage door bracket to the door itself, making sure it is properly aligned. Connect the bracket to the rail system, ensuring a sturdy connection. This bracket is responsible for transferring the movement from the opener to the garage door.
Step 4: Wiring and power connection
Follow the provided wiring instructions to connect the necessary wires. Take care to connect them properly and secure any loose ends. Once the wiring is complete, plug in the power cord and ensure a reliable power supply for the opener.
Programming the Ridgeline Garage Door Opener
Now that the installation is complete, it’s time to program your Ridgeline Garage Door Opener for seamless operation.
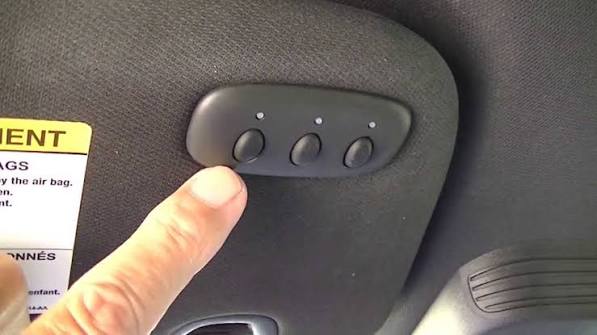
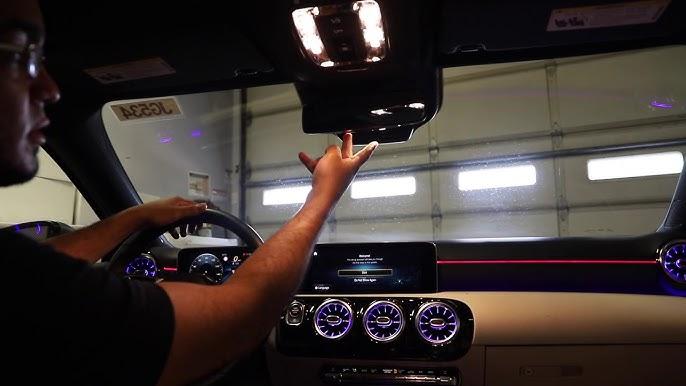
Step 1: Setting up the remote control
Sync your remote control with the opener unit according to the specific instructions provided. This step allows you to conveniently operate the garage door from a distance.
Step 2: Adjusting the travel limits
Set the open and close positions of your garage door using the control panel. Fine-tune the travel limits to ensure smooth and accurate door movement. This adjustment prevents the door from closing or opening too far, protecting it from damage.
Step 3: Programming additional features
If your Ridgeline Garage Door Opener supports additional features, such as a keypad entry system or smartphone control, follow the instructions to configure them. These features enhance convenience and security by providing alternative methods of accessing your garage.
Testing and Troubleshooting
With the programming complete, it’s time to test the functionality of your Ridgeline Garage Door Opener.
Step 1: Testing the garage door opener
Use the remote control to open and close the garage door multiple times. Observe the movement and ensure that it operates smoothly and without any issues. This step allows you to verify that the opener is functioning correctly.
Step 2: Troubleshooting common issues
If you encounter any problems, don’t panic. Refer to the troubleshooting section in the manufacturer’s manual or seek assistance from their customer support. Common issues such as door reversal or sensor malfunctions can often be resolved with simple solutions.
Step 3: Regular maintenance and care
To keep your Ridgeline Garage Door Opener in excellent condition, perform regular maintenance. Lubricate the necessary parts as recommended by the manufacturer and conduct periodic inspections to identify and address any potential issues before they escalate.
Frequently Asked Questions
Here are some common questions about setting up the Ridgeline Garage Door Opener:
- What should I do if my remote control doesn’t work?
- How do I reset the travel limits on my Ridgeline opener?
- Can I install the Ridgeline Garage Door Opener myself, or do I need professional help?
- Are there any safety precautions I should follow during installation?
- How long does it take to set up the Ridgeline Garage Door Opener?
In conclusion, by following these step-by-step instructions, you can master the installation and programming of your Ridgeline Garage Door Opener. Enjoy the convenience and security it provides, and remember to perform regular maintenance to ensure its long-lasting performance.
Leave a Reply