Are you experiencing issues with your Chamberlain garage door opener and need to utilize the reset button? Understanding how to properly reset your Chamberlain garage door opener can save you time and frustration. In this detailed guide, we’ll explore everything you need to know about the Chamberlain garage door opener reset button and how to use it effectively.
Exploring the Chamberlain Garage Door Opener Reset Button
The reset button on your Chamberlain garage door opener serves a vital function in troubleshooting and resolving various issues. Whether you’re dealing with connectivity problems, sensor issues, or other operational challenges, knowing how to utilize the reset button can help restore your garage door opener to optimal performance.
Understanding the Chamberlain Garage Door Openers Reset Button
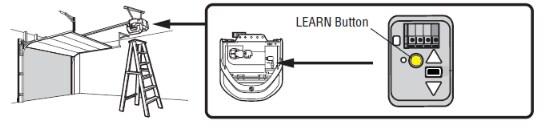
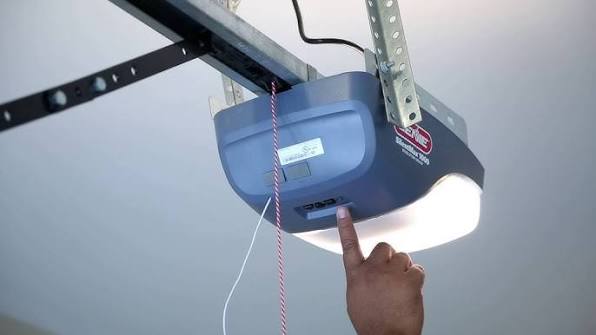
The reset button is typically located on the main unit of your Chamberlain garage door openers. It may be labeled as “Reset” or identified by a small button that requires activation with a pin or paperclip. Understanding how to locate and access the reset button is the first step in resolving any issues with your garage door opener.
Utilizing the Chamberlain Garage Door Opener Reset Button: Step-by-Step Guide
- Locate the Reset Button:
Begin by identifying the reset button on your Chamberlain garage door openers. This button is often located near the motor unit and may be recessed or hidden to prevent accidental activation. - Prepare for Reset:
Before initiating the reset process, ensure that your garage door is in the closed position and that there are no obstructions preventing its movement. Disconnect any power sources to the opener to prevent electrical hazards. - Activate the Reset:
Insert a pin or paperclip into the reset button and press and hold it for approximately 10 to 15 seconds. Keep the button depressed until you see the indicator lights on the opener flash, indicating that the reset process has been initiated. - Release the Reset Button:
Once the indicator lights have flashed, release the reset button and wait for the opener to complete the reset process. This may take a few moments, so be patient and avoid interrupting the process. - Test the Opener:
After the reset process is complete, test your Chamberlain garage door opener to ensure that it is functioning correctly. Use your remote control or wall-mounted keypad to open and close the garage door, verifying that all operations are smooth and consistent.
Troubleshooting Tips and Considerations
- Power Source:
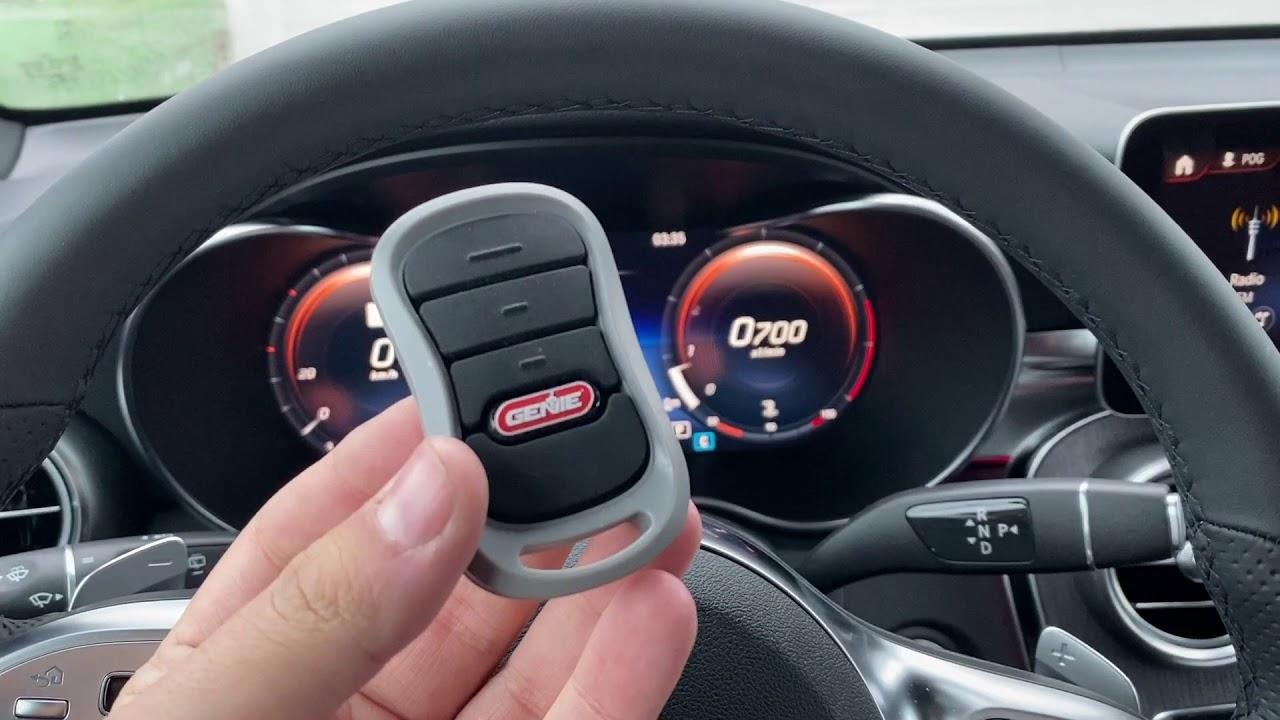
Make sure your garage door opener connects securely to a dependable power source, and verify there are no electrical outlet or wiring problems. - Remote Control Batteries:
Check the batteries in your remote control and replace them if necessary to ensure reliable operation. - Sensor Alignment:
Inspect the safety sensors located near the bottom of the garage door and ensure that they are properly aligned and free from obstructions.
Seeking Professional Assistance
If you encounter difficulties during the reset process or if your Chamberlain garage door opener continues to malfunction, it may be necessary to seek professional assistance. A qualified technician can diagnose any underlying issues and provide effective solutions to restore your garage door opener to optimal functionality.
Read too: Mastering the Art of How to Open a Garage Door Safely and Efficiently
Conclusion
Mastering the Chamberlain garage door opener reset button is essential for troubleshooting and resolving common issues with your garage door opener. By following the step-by-step guide outlined above and incorporating troubleshooting tips as needed, you can quickly address any problems and enjoy the convenience of a fully functional garage door opener.
Leave a Reply