Introduction
There is nothing quite as frustrating as standing in your driveway, pressing buttons frantically, and realizing you have no idea how to set code on LiftMaster garage door opener systems. Whether you have just moved into a new home, lost a remote, or simply want to upgrade your security after a tenant moves out, regaining control of your garage access is a top priority. We understand that dealing with mechanical devices can feel intimidating, but rest assured that programming these openers is designed to be user-friendly. This comprehensive guide will walk you through every step safely and efficiently, ensuring your home remains secure and accessible.
Understanding Your LiftMaster System Before Programming
Before you begin pressing buttons, it is vital to identify which specific system you own. LiftMaster has manufactured numerous models over the decades, and the programming method varies significantly between older DIP switch models and newer Security+ 2.0 systems. According to industry data, over 70% of service calls related to programming are simply due to users attempting the wrong procedure for their specific model generation.
Identify Your Learn Button Color
The most reliable way to determine your programming method is by locating the “Learn” button on the motor unit (usually hanging from the ceiling). The color of this button dictates the frequency and protocol:
- Yellow Learn Button: Security+ 2.0 (2011–Present). Uses rolling code technology.
- Red/Orange Learn Button: Security+ (1997–2011). Also uses rolling codes but an older generation.
- Purple Learn Button: Security+ (2005–2014). Specific to certain residential models.
- Green Learn Button: Older fixed-code or early rolling code models (pre-1997).
⚠️ Safety First: Always ensure the garage door area is clear of people, pets, and obstacles before testing. Never bypass safety sensors during programming. For detailed technical specifications regarding radio frequencies and safety standards, refer to the Garage Door Opener entry on Wikipedia.org, which provides excellent background on the evolution of these safety mechanisms.
How to Set Code On LiftMaster Garage Door Opener Keypad
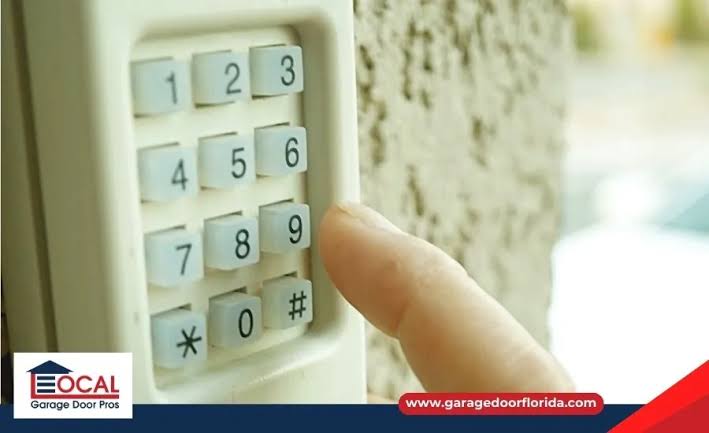
The exterior wireless keypad is the most common access point homeowners need to program. This allows family members or guests to enter without a remote.
Step-by-Step Keypad Programming
Follow these exact steps for Security+ 2.0 (Yellow Learn Button) and most modern Security+ models:
- Locate the Learn Button: Find the colored Learn button on the back or side of the motor unit. You may need a stepladder.
- Initiate Learning Mode: Press and release the Learn button. The LED indicator light next to it will turn on or begin blinking. You typically have 30 seconds to complete the next step.
- Enter Your PIN: Go to your exterior keypad. Enter your desired 4-digit PIN.
- Press ENTER: After entering the PIN, press and hold the ENTER button until the motor unit lights flash or you hear two clicks. This confirms the code is stored.
- Test Immediately: Wait 5 seconds, then re-enter your PIN and press ENTER to verify operation.
Troubleshooting Keypad Issues
If the above steps fail, check these common culprits:
| Symptom | Likely Cause | Solution |
|---|---|---|
| LED blinks rapidly then stops | Wrong frequency/model mismatch | Verify Learn button color matches keypad compatibility |
| No response at all | Dead battery or corrosion | Replace 9V battery; clean contacts with rubbing alcohol |
| Works once then stops | Signal interference | Reposition keypad away from metal gutters or LED bulbs |
| Light flashes but door doesn’t move | Travel limits not set | Perform travel limit adjustment per manual |
Programming LiftMaster Remote Controls
While setting a keypad code is essential, syncing your visor remotes ensures seamless daily use. The process is nearly identical to keypad programming but utilizes the remote’s button instead of a PIN.
Standard Remote Syncing Procedure
- Press and release the Learn button on the motor unit.
- Within 30 seconds, press and hold the button on your remote that you wish to program.
- Continue holding until the motor unit light flashes or clicks (usually 3–5 seconds).
- Release the remote button and test.
Multi-Function Remote Considerations
If you have a multi-button remote controlling multiple doors, repeat this process for each button individually. Each button must be learned separately. Modern LiftMaster remotes use rolling code technology, meaning the signal changes with every use to prevent code grabbing—a significant security upgrade over older fixed-code systems.
Using MyQ App for Smart Code Management
For homeowners with Wi-Fi-enabled LiftMaster openers, the MyQ app offers a digital alternative to physical button pressing. This is particularly useful for managing temporary guest codes or monitoring access history.
Setting Codes via MyQ
- Open the MyQ app and select your garage door opener.
- Navigate to “Settings” > “Guest Access” or “Keypad.”
- Select “Add New Code” and enter your desired PIN.
- Choose access type: Permanent, Scheduled, or Temporary.
- Save and sync. The opener receives the update via Wi-Fi instantly.
This method eliminates the need to climb a ladder to reach the Learn button and provides audit trails showing exactly when codes were used—an invaluable feature for rental property owners or families with teenagers.
Essential Security Best Practices
Knowing how to set code on LiftMaster garage door opener hardware is only half the battle; maintaining security hygiene is equally critical. Industry experts recommend changing your garage codes at least once annually or immediately after any personnel change (roommates moving out, contractors finishing work, etc.).
Avoid These Common PIN Mistakes
- Sequential Numbers: Avoid 1234, 4321, or 1111. These are the first combinations thieves try.
- Birth Years: Do not use your birth year or address number. Social engineering makes these easily discoverable.
- Reused Codes: Never use the same PIN as your house door, safe, or bank account.
- Shared Permanent Codes: Use temporary or scheduled codes for service workers, dog walkers, or cleaners rather than giving out your primary family PIN.
Additionally, consider enabling auto-close features if your opener supports them. This ensures the door never accidentally remains open overnight, complementing your coded access with passive security.
Frequently Asked Questions (FAQ)
1. Why won’t my LiftMaster keypad accept my new code?
The most common reason is exceeding the 30-second window after pressing the Learn button. If the LED goes out, the learning mode has timed out. Simply press the Learn button again and restart the process. Also, verify that your keypad is compatible with your opener’s Learn button color; a yellow-button opener requires a Security+ 2.0 compatible keypad.
2. How do I erase all old codes from my LiftMaster opener?
To perform a factory reset and clear all remotes and keypads, press and hold the Learn button on the motor unit for approximately 6–10 seconds until the LED turns off completely. All previously programmed devices will be erased. You must then reprogram every remote and keypad you wish to use. This is recommended when purchasing a used home.
3. Can I set multiple different codes on one keypad?
Most standard LiftMaster wireless keypads support only one active PIN at a time. However, MyQ-connected smart keypads and certain premium models allow multiple unique user codes. Check your specific keypad model number against the manufacturer’s compatibility chart. If you need multiple codes for different users, upgrading to a smart keypad or using the MyQ app is the best solution.
4. What should I do if the Learn button is missing or broken?
If your opener lacks a visible Learn button, you likely have a pre-1997 DIP switch model. These require manually matching tiny switches inside both the remote and the motor unit. If the Learn button itself is physically damaged, the logic board may need replacement. In either case, consulting a certified LiftMaster dealer is safer than attempting electrical repairs yourself.
5. Does changing the code affect my car’s built-in HomeLink system?
No. Changing your keypad or remote codes does not automatically erase HomeLink. However, if you perform a full factory reset (holding the Learn button until the light goes out), HomeLink will also be cleared and must be re-synced. If you’re only adding a new keypad code without resetting, your vehicle’s system will continue working normally.
6. How often should I replace my keypad battery?
Under normal usage (3–5 entries per day), a 9V battery typically lasts 12–18 months. Most LiftMaster keypads feature a low-battery indicator light that blinks when replacement is needed. Proactively replacing the battery annually during your seasonal maintenance routine prevents unexpected lockouts. Use high-quality alkaline batteries; rechargeables often provide inconsistent voltage.
Conclusion
Mastering how to set code on LiftMaster garage door opener systems empowers you to maintain both convenience and security without costly service calls. By identifying your Learn button color, following precise programming steps, and adhering to security best practices, you ensure reliable access for years to come. Remember that regular code updates and battery checks are simple habits that dramatically reduce vulnerability.
We hope this guide has transformed a potentially stressful task into a manageable DIY win! If you found this tutorial helpful, please share it on social media to help fellow homeowners secure their garages. Tag us or leave a comment below with your model number if you need personalized troubleshooting—we’re always happy to help our community stay safe and access their homes with confidence. 🔐🏡



Leave a Reply