A garage door opener is an essential component of any modern garage, providing convenience, security, and ease of access. Over time, it may wear out or malfunction, requiring a replacement. But how long does it take to replace a garage door opener? If you’re planning a DIY replacement or hiring a professional, knowing the time required can help you prepare for the process.
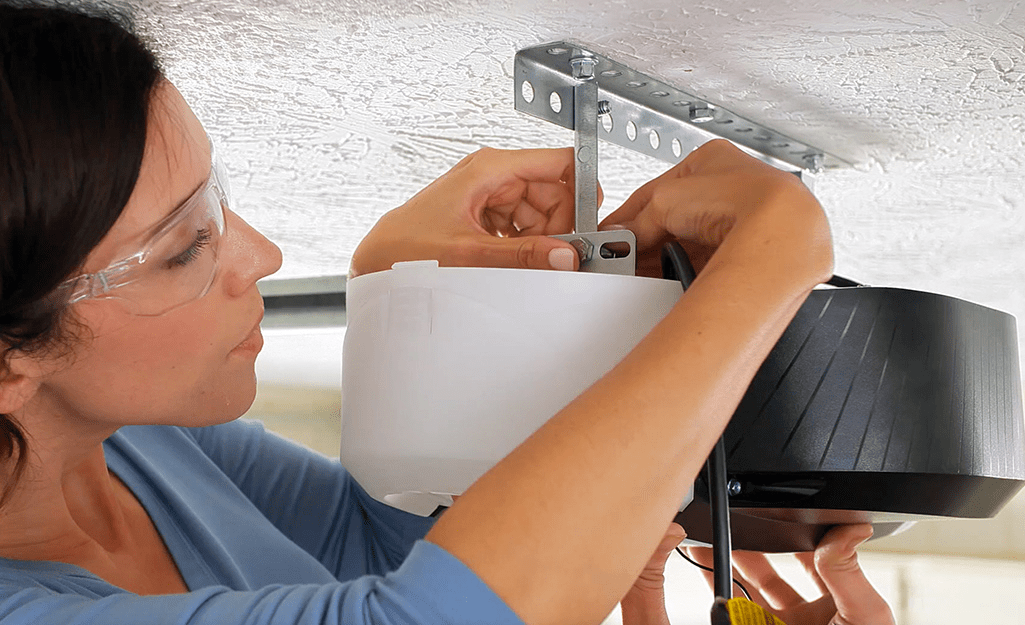
In this comprehensive guide, we’ll discuss the factors that affect the installation time, provide step-by-step instructions for replacing a garage door opener, and offer tips for a smooth and efficient process.
How Long Does It Take To Replace Garage Door Opener?
The time required to replace a garage door opener depends on several factors, including your experience level, the type of opener, and whether you have all the necessary tools. On average:
- DIY Installation: 4 to 6 hours
- Professional Installation: 2 to 4 hours
For experienced professionals, the process can be completed quickly. However, if you’re doing it yourself for the first time, expect it to take longer, especially if you need to read the manual, troubleshoot issues, or remove an old unit.
Read too: Mastering Quantum Garage Door Opener Programming: A Comprehensive Guide
Factors Affecting the Time to Replace a Garage Door Opener
Several factors influence the time required to replace a garage door opener. Understanding these factors can help you estimate how long the installation will take.
1. Type of Garage Door Opener
There are different types of garage door openers, and some take longer to install than others:
- Chain-drive openers: Usually take longer due to their complex assembly.
- Belt-drive openers: Easier to install but require precise alignment.
- Screw-drive openers: Relatively straightforward installation but may take time for adjustments.
- Direct-drive openers: Simplest to install with fewer moving parts.
2. Replacing vs. Installing a New Opener
If you’re replacing an existing opener with a similar model, the process will be much faster since the mounting brackets and wiring are already in place. However, if you’re installing a new system from scratch, you’ll need to set up the wiring, brackets, and motor, which will take longer.
3. Electrical Wiring and Adjustments
If your new garage door opener requires rewiring or additional electrical work, it could extend the installation time. Some models may also need additional settings and programming for remotes, keypads, and smart home integrations.
4. Experience Level
If you’re handy with tools and have installed a garage door opener before, you might complete the job in 3 to 4 hours. However, for beginners, it may take up to 6 hours or more.
5. Removal of the Old Garage Door Opener
Before installing a new unit, the old garage door opener needs to be removed. If the existing opener is heavily damaged or rusted, removal may take longer than expected.
Step-by-Step Guide to Replacing a Garage Door Opener
If you’re planning a DIY replacement, follow these steps to ensure a smooth installation.
Step 1: Gather Tools and Materials
Before starting, make sure you have the necessary tools and materials:
✔ Wrench set
✔ Screwdrivers
✔ Ladder
✔ Power drill
✔ Measuring tape
✔ Garage door opener kit
✔ Safety glasses and gloves
Step 2: Remove the Old Garage Door Opener
- Disconnect power – Unplug the old garage door opener or turn off the circuit breaker.
- Detach the opener from the ceiling – Use a wrench to remove the mounting bolts and brackets.
- Disconnect the chain or belt drive – Carefully release the tension and remove the old opener.
- Remove the wall control unit and sensors – If you’re replacing the full system, disconnect the wiring.
Step 3: Install the New Garage Door Opener
- Mount the opener unit – Secure it to the ceiling using the included brackets.
- Connect the rail and drive system – Assemble the chain, belt, or screw drive.
- Attach the garage door arm – Ensure proper alignment between the opener and the garage door.
- Install safety sensors – Place them near the bottom of the garage door to prevent accidents.
- Wire the control panel – Connect the wall-mounted control panel and remote system.
Step 4: Test the Garage Door Opener
- Reconnect power – Plug the new opener back into the power source.
- Test the remote and wall controls – Ensure they properly open and close the door.
- Adjust the settings – Modify the force and travel limits for smooth operation.
- Check safety features – Ensure the auto-reverse function works correctly.
Should You Hire a Professional or Do It Yourself?
If you’re comfortable with basic electrical and mechanical work, you can save money by installing the garage door opener yourself. However, hiring a professional can be a good investment if:
✅ You want a quick and hassle-free installation.
✅ You’re not experienced with tools or electrical work.
✅ You need warranty coverage (some brands require professional installation).
Tips for a Smooth Garage Door Opener Replacement
Here are some helpful tips to make the installation process easier:
✔ Choose the right opener – Make sure it matches your garage door’s weight and size.
✔ Read the manual – Each brand has specific installation steps.
✔ Use proper safety precautions – Always turn off power before handling wires.
✔ Test everything before finalizing – Ensure the door operates smoothly without jerks.
✔ Consider smart openers – Many modern openers come with WiFi capabilities for remote access.
Conclusion
So, how long does it take to replace a garage door opener? For professionals, it usually takes 2 to 4 hours, while a DIY installation can take 4 to 6 hours or more, depending on your skill level. By preparing the right tools, following a step-by-step approach, and ensuring proper adjustments, you can successfully replace your garage door opener with minimal hassle.
Whether you decide to do it yourself or hire a professional, ensuring proper installation will improve the security and efficiency of your garage door for years to come.



Leave a Reply