Programming a Precision garage door opener is a straightforward process that allows you to sync your opener with your garage door, ensuring smooth and efficient operation. Whether you’ve just installed a new Precision garage door opener or need to reprogram an existing one, this guide will walk you through the steps to set up and program your opener correctly. By following these simple instructions, you can enjoy the convenience and security of your Precision garage door opener in no time.
Preparing for Programming
Before you begin the programming process, make sure you have the necessary tools and information ready:
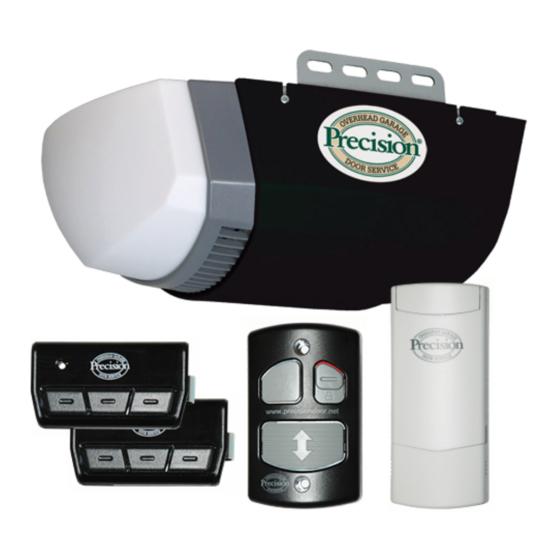
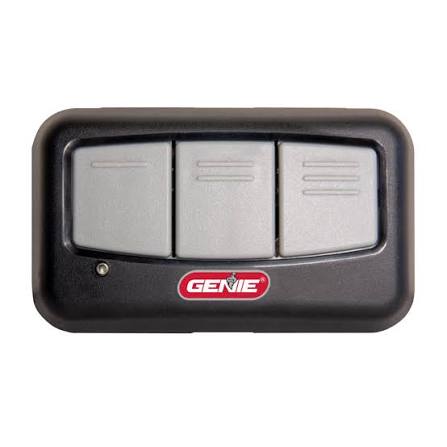
- Remote Control: Have the remote control that came with your Precision garage door opener or the one you wish to program.
- Step Stool or Ladder: Depending on the height of your garage door opener’s control panel, you may need a step stool or ladder for easy access.
- Identify the Opener Type: Precision garage door openers can vary in models and features. Identify the model of your opener and consult the user manual for specific programming instructions if needed.
Erasing Previous Codes
If you are reprogramming your Precision garage door opener or want to clear any existing codes, follow these steps:
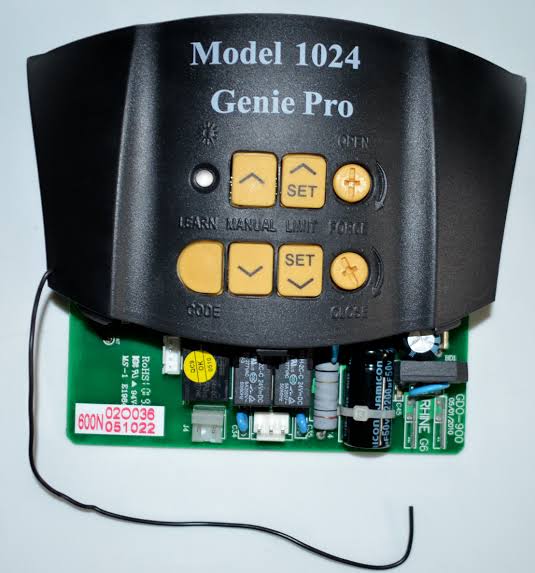
- Locate the “Learn” Button: On the back or side of your garage door opener’s control panel, find the “Learn” button. It is usually a small, colored button.
- Press and Hold the “Learn” Button: Press and hold the “Learn” button for about 10-15 seconds until the indicator light on the opener blinks or turns off. This action erases all existing codes from the opener’s memory.
Programming the Remote Control
Once you’ve cleared the previous codes, you can now program the remote control to your Precision garage door opener:
- Press the “Learn” Button: Press the “Learn” button on your garage door opener’s control panel. The indicator light should light up or start blinking.
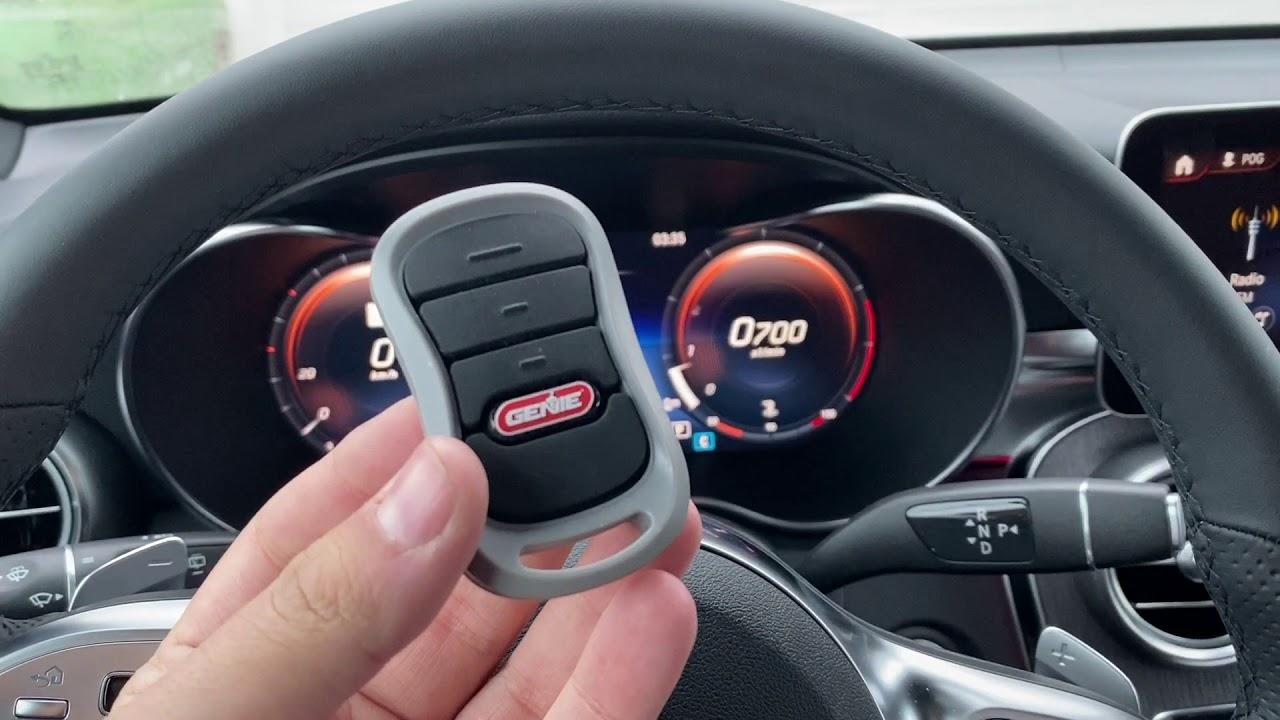
- Press the Remote Button: Within 30 seconds of pressing the “Learn” button, press and hold the button on your remote control that you want to use to operate the garage door. Hold it until the opener’s indicator light blinks or turns off.
- Test the Remote: After programming the remote, test it by pressing the programmed button. The garage door should respond by opening or closing.
Programming Additional Remotes
If you have multiple remotes or need to program additional ones, follow the same steps as above for each remote:
- Press the “Learn” Button: Press the “Learn” button on the garage door opener’s control panel.
- Press the Remote Button: Within 30 seconds, press and hold the button on the additional remote that you want to program. Wait for the indicator light to blink or turn off.
- Test the Remote: Test each programmed remote to ensure they all work correctly and open or close the garage door.
Additional Features and Settings
Precision garage door openers may come with additional features and settings that you can customize to suit your preferences. Refer to the user manual for your specific model to explore options such as:
- Adjusting the opening and closing force.
- Setting the garage door opener’s light delay.
- Enabling vacation mode for added security when you are away.
Troubleshooting Tips
If you encounter any issues during the programming process or your remote control doesn’t work as expected, consider these troubleshooting tips:
- Check Battery: Ensure that the battery in your remote control is fresh and properly inserted.
- Repeat Programming: If the remote control doesn’t work after programming, repeat the programming process to ensure it was completed correctly.
- Consult the Manual: Refer to the user manual for your specific Precision garage door opener for troubleshooting tips and solutions.
Conclusion:
Programming your Precision garage door opener is a simple and essential step to ensure seamless operation and enhanced security. By following the step-by-step guide provided, you can program your remote control and customize additional features to suit your needs. If you encounter any challenges or need further assistance, consult the user manual or contact Precision’s customer support for prompt and helpful guidance. With your Precision garage door opener properly programmed, you can enjoy the convenience and peace of mind it brings to your daily life.
Leave a Reply