Introduction
Walking into a pitch-black garage after a long day is frustrating and potentially unsafe. If you are wondering how to turn on garage lights when door opens, you are in the right place. This simple automation upgrade brings instant convenience, enhanced security, and peace of mind to your daily routine.
Why Automate Your Garage Lighting?
Your garage is often the primary entry point to your home, making it a critical zone for safety. According to the National Crime Prevention Council, proper exterior and interior lighting can reduce the likelihood of property crime by up to 39%.
Furthermore, Statista reports that over 40% of U.S. households now utilize smart home devices. Automating your garage lighting is no longer a luxury; it is a practical standard that prevents tripping hazards, deters unwanted visitors, and makes carrying groceries inside a breeze.
How To Turn On Garage Lights When Door Opens: 3 Proven Methods
Depending on your current setup and technical comfort level, there are three primary ways to achieve this. Below are step-by-step guides for each method.
Method 1: Using the Garage Door Opener’s Built-in Light Feature
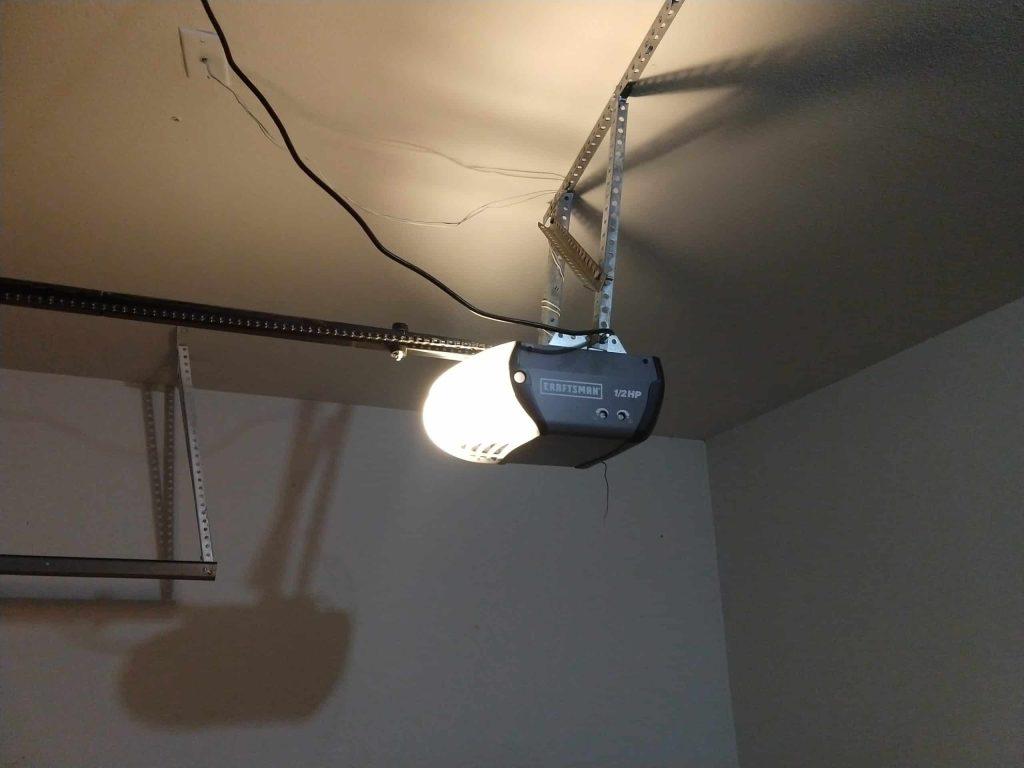
Most modern garage door openers (like Chamberlain, LiftMaster, or Genie) come with a built-in light that activates automatically when the door moves.
- Locate the control panel on your garage door opener motor unit (usually mounted on the ceiling).
- Find the “Light” button or the timeout adjustment dial.
- Press the button to toggle the light on manually, or adjust the dial to set the duration (e.g., 1.5 or 2.5 minutes) after the door stops moving.
- Test the system by opening and closing the door to ensure the light triggers reliably.
Note: If your opener is over 15 years old, the internal light relay may be worn out, making Method 2 or 3 a better choice.
Method 2: Installing a Smart Light Switch
This method replaces your existing wall switch with a Wi-Fi-enabled smart switch, allowing you to create custom automation rules.
- Turn off the power at your home’s main electrical panel. Locate the specific 15-amp circuit breaker for the garage and switch it to “OFF”.
- Remove the existing switch plate using a flathead screwdriver. Unscrew the switch from the electrical box.
- Identify the wires. You will typically see a black (hot/line) wire, a red or black (load) wire, and a bare copper (ground) wire.
- Connect the smart switch. Attach the black wire to the “Line” terminal, the load wire to the “Load” terminal, and the copper wire to the green ground screw. Secure all connections with UL-listed wire nuts.
- Mount the switch, restore power at the breaker, and configure the automation in your smart home app (e.g., “If garage door opens, turn on light”).
Method 3: Adding a Smart Plug with a Door Contact Sensor
If your garage light is a plug-in fixture (like a shop light), this is the easiest, no-wiring solution.
- Plug a smart plug into a grounded, GFCI-protected outlet in your garage.
- Plug your light fixture into the smart plug.
- Install a smart door contact sensor on the garage door frame and the door itself, ensuring the two pieces align within 1 inch when closed.
- Create an automation routine in your smart home app: “If the door sensor state changes to ‘Open’, then turn on the smart plug.”
Pros and Cons of Each Method
| Method | Pros | Cons | Best For |
|---|---|---|---|
| Built-in Opener | No extra cost, easy to activate, no wiring required. | Light duration is often fixed; bulbs may burn out faster. | Owners of modern openers seeking a quick fix. |
| Smart Light Switch | Highly customizable, works with voice assistants, sleek look. | Requires basic electrical knowledge and turning off breakers. | Tech-savvy users wanting whole-room automation. |
| Smart Plug + Sensor | Zero wiring, portable, easy to set up in minutes. | Only works for plug-in lights, requires a nearby outlet. | Renters or those using temporary/shop lighting. |
Essential Safety and Wiring Tips for Beginners
Electrical work demands respect and caution. Always prioritize safety over speed.
- Always verify power is off using a non-contact voltage tester before touching any wires.
- Use GFCI outlets in garages, as required by the National Electrical Code (NEC), to prevent shock hazards in damp environments.
- If you are experimenting with custom low-voltage door sensors triggering 120V lights, understanding how a basic relay functions is crucial. A relay safely isolates the low-voltage door sensor circuit from the high-voltage lighting circuit, preventing damage to your smart home hub.
- When in doubt, consult a licensed electrician. A 30-minute professional consultation can save you from costly and dangerous mistakes.
Frequently Asked Questions (FAQ)
Q1: Can I connect my garage light to the door opener without wiring?
Yes. If your opener has a built-in light feature, it is already wired to trigger upon movement. Alternatively, you can use a smart plug paired with a wireless door contact sensor for plug-in lights, requiring zero new wiring.
Q2: Will this setup work if I already have a smart garage door opener?
Absolutely. In fact, it integrates beautifully. Many smart openers (like myQ) allow you to create “If This Then That” (IFTTT) routines or native automations that trigger your smart lights the moment the door begins to open.
Q3: How much does it typically cost to automate garage lights?
The cost varies by method. Utilizing the built-in opener feature is free. A smart plug and door sensor kit typically costs between $25 and $40. A quality smart light switch ranges from $15 to $30, plus the potential cost of an electrician ($75–$150) if you are not comfortable doing it yourself.
Q4: Do I need a licensed electrician to install a smart switch in my garage?
While not legally required in all jurisdictions for simple switch replacements, it is highly recommended if you are unfamiliar with residential wiring. Garages often have unique wiring setups, and a professional ensures the work meets local NEC codes.
Q5: Why does my garage light turn off too quickly after opening the door?
Most garage door openers have a preset light timeout (usually 1.5 to 2.5 minutes) to save energy. You can often adjust this by turning a small dial on the motor unit or changing the settings in the manufacturer’s mobile app. If it still turns off too fast, consider installing a motion-sensor light switch as a supplement.
Conclusion
Learning how to turn on garage lights when door opens is a small change that yields massive daily benefits. Whether you choose to tweak your existing opener settings, install a smart switch, or use a wireless sensor kit, you are investing in your family’s safety and your own convenience. No more fumbling for keys in the dark or tripping over stray tools.
Start with the method that best matches your skill level and budget. Once you experience the joy of a perfectly lit garage welcoming you home, you will wonder how you ever lived without it.
Found this guide helpful? Share it with your friends and family on Facebook, Twitter, or Pinterest to help them upgrade their home safety today!



Leave a Reply