Have you ever wished for a seamless and hassle-free way to open and close your garage door? Homelink is here to fulfill that desire! This wireless control system allows you to operate your garage door opener effortlessly from the comfort of your vehicle. However, there may come a time when you need to reset your Homelink garage door opener. Whether you’re moving into a new home, purchasing a new car, or encountering technical issues, resetting Homelink is essential for optimal performance. In this guide, we’ll walk you through the process of resetting Homelink garage door opener, ensuring you can regain control and enjoy the convenience Homelink offers.

Section 1: Understanding Homelink and Why Resetting is Necessary
Homelink: Your Gateway to Convenience
Homelink is a cutting-edge technology that allows you to control various home automation devices, with garage door openers being one of its primary applications. This smart system eliminates the need for separate remote controls, providing a seamless integration between your vehicle and garage door opener. However, there are instances when resetting your Homelink becomes necessary. Let’s explore why.
Why Resetting is Necessary
- Moving into a New Home: When you move into a new residence, you’ll likely need to reprogram your Homelink system to match the garage door opener installed in your new home.
- Purchasing a New Car: If you’ve recently bought a new car, resetting Homelink ensures that it syncs with your current garage door opener, allowing you to enjoy uninterrupted access.
- Technical Issues: In case you encounter connectivity problems or other technical glitches, resetting Homelink can often resolve these issues.
Frequently Asked Questions about Homelink and Resetting
- How do I reset my Homelink garage door opener?
- What are the steps to erase Homelink codes in my car?
- Can I program multiple garage door openers with Homelink?
- Why is my Homelink not working after a reset?
- What should I do if my garage door doesn’t respond to Homelink commands?
- Where can I find the programming instructions for my Homelink system?
- Is it necessary to reset Homelink when I move to a new home?
- How do I troubleshoot Homelink connectivity issues?
- Can I use Homelink with a different brand of garage door opener?
- Are there any alternative wireless control systems similar to Homelink?
Section 2: Preparing for a Homelink Reset
Before diving into the reset process, it’s essential to ensure you have everything you need. Here’s a checklist to help you prepare:
- Ladder: Depending on the height of your garage door opener, you might need a ladder to access the Homelink buttons in your vehicle.
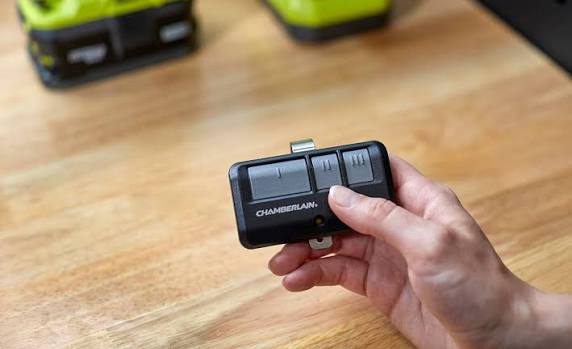
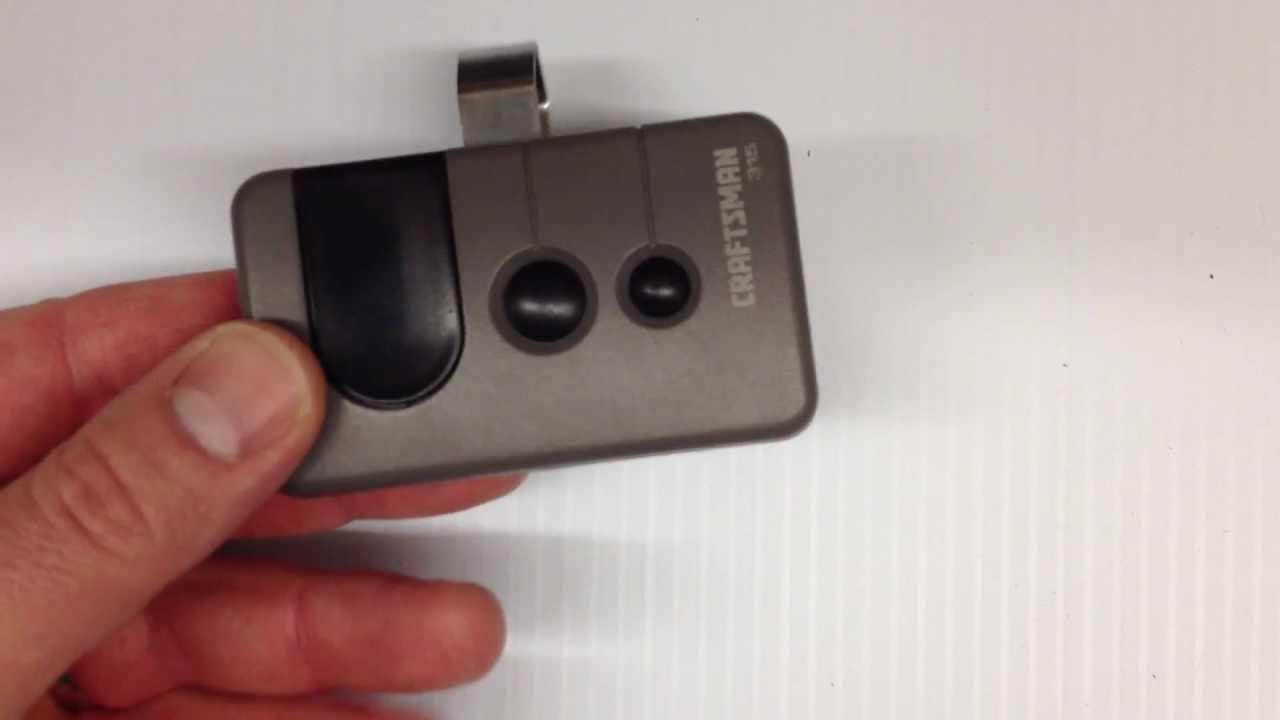
- Compatible Homelink-Enabled Remote: Make sure you have a compatible remote that is capable of programming with your Homelink system.
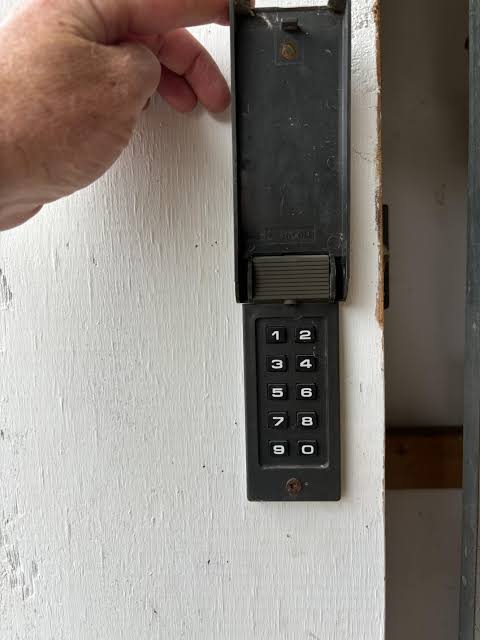
- Owner’s Manual: Locate the owner’s manual of your garage door opener, as it contains valuable information specific to your model.
Once you’ve gathered these essentials, you’re ready to proceed with the Homelink reset process.
Section 3: Step-by-Step Guide to Resetting Your Homelink Garage Door Opener
Now, let’s delve into the step-by-step process of resetting your Homelink garage door opener. We’ll cover two scenarios: clearing existing Homelink programming and programming Homelink for a single or multiple garage door openers.
Clearing Existing Homelink Programming
Before you can program new settings, you must clear the existing programming in your Homelink system. Here’s how:
- Step 1: Start by sitting in your vehicle near the garage door opener.
- Step 2: Locate the Homelink buttons on your car’s visor or rearview mirror.
- Step 3: Press and hold the first and third Homelink buttons simultaneously until the indicator light begins to flash slowly.
- Step 4: Continue holding the buttons until the light changes from a slow flash to a rapid flash, indicating that the programming has been cleared.
Programming Homelink for a Single Garage Door Opener
If you have a single garage door opener, follow these steps to program Homelink:
- Step 1: Again, sit in your vehicle near the garage door opener.
- Step 2: Press and hold the desired Homelink button you wish to program and the button on your compatible remote simultaneously.
- Step 3: Wait for the indicator light to change from a slow flash to a rapid flash, indicating successful programming.
- Step 4: Test the Homelink button by pressing it to ensure the garage door opens or closes as expected.
Programming Homelink for Multiple Garage Door Openers
For homes with multiple garage door openers, programming Homelink requires a few additional steps. Here’s what you should do:
- Step 1: Sit in your vehicle near the garage door opener you want to program.
- Step 2: Press and hold the desired Homelink button and the button on your compatible remote simultaneously.
- Step 3: Wait for the indicator light to change from a slow flash to a rapid flash.
- Step 4: Move to the next garage door opener and repeat steps 1-3 for each additional door.
- Step 5: Test each Homelink button to ensure they control the corresponding garage doors accurately.
Section 4: Troubleshooting and Tips
While resetting your Homelink garage door opener is usually a straightforward process, you might encounter some challenges. Here are a few troubleshooting tips to help you out:
- If your Homelink system doesn’t respond after the reset, make sure you followed the programming steps correctly. Repeat the process, ensuring you hold the buttons for the specified duration.
- If your garage door doesn’t open or close when using Homelink, check for any obstructions in the door’s path and clear them.
- Interference from other devices can disrupt the Homelink signal. Keep your vehicle away from potential sources of interference, such as wireless routers or electronic devices.
- Consult the owner’s manual of your garage door opener or reach out to Homelink customer support for additional assistance.
Conclusion
Congratulations! You’ve now mastered the art of resetting Homelink garage door opener. By following the step-by-step guide provided in this article, you can ensure seamless access to your garage with Homelink. Remember, whether you’re moving to a new home, purchasing a new car, or encountering technical issues, resetting Homelink is your ticket to uninterrupted convenience. Enjoy the benefits of this smart wireless control system and confidently take control of your garage access!
Leave a Reply