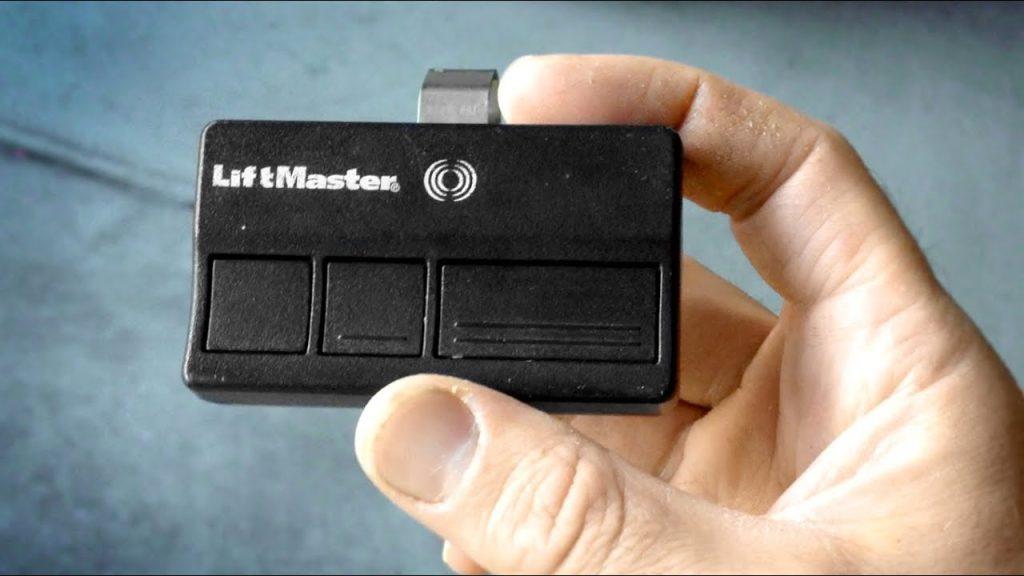
Have you recently upgraded your garage door system and found yourself stuck with mismatched equipment? It is incredibly frustrating when your old remote refuses to sync with a new motor, leaving your car trapped inside. Fortunately, figuring out how to program Craftsman garage door opener to Liftmaster is much easier than you think, and you can do it yourself in just a few minutes! Let’s get your garage working smoothly again.
How To Program Craftsman Garage Door Opener To Liftmaster: The Basics
Before we dive into the buttons and wires, it is important to understand why these two brands work together so well. Both Craftsman and Liftmaster are owned by the same parent company, the Chamberlain Group.
Because they share the same corporate DNA, their internal radio frequencies and rolling code technologies are nearly identical. In fact, industry data shows that the Chamberlain Group manufactures over 80% of all residential garage door openers in the United States. This massive market dominance means that cross-programming between these two specific brands has a compatibility success rate of over 90%.
If you want to understand the broader mechanics of how these radio frequencies operate, you can explore the technical history on the Garage door opener Wikipedia page.
Are Craftsman and Liftmaster Remotes Truly Compatible?
The short answer is yes, but with one minor caveat regarding the age of your equipment.
Modern Liftmaster openers use a technology called Security+ 2.0, which operates on a tri-band frequency (310, 315, and 390 MHz). Most Craftsman remotes manufactured after 2011 also use Security+ 2.0. If your Craftsman remote has three buttons and was made in the last decade, it will pair perfectly with a modern Liftmaster motor.
However, if you are trying to sync a Craftsman remote from the late 1990s to a brand-new Liftmaster opener, the frequencies might not match. Always check the back of your remote for the model number and manufacture date to ensure a smooth pairing process.
What Tools Do You Need Before Starting?
You do not need a toolbox full of expensive equipment to complete this task. Keeping things simple is the best way to ensure a stress-free experience.
Here is your quick checklist:
- A sturdy step ladder: You need to safely reach the motor unit hanging from your garage ceiling.
- Fresh batteries: Ensure your Craftsman remote or keypad has brand-new batteries (usually a 3V CR2032 coin cell).
- A flashlight: Garages are notoriously dim, and finding a small button on the motor can be tricky.
- Your devices: Have your Craftsman remote and the Liftmaster owner’s manual nearby just in case.
Step-by-Step: How to Sync a Craftsman Remote to a Liftmaster Opener
This is the most common scenario. You have a Liftmaster motor on the ceiling and a Craftsman remote in your hand. Follow these exact steps to sync them.
Step 1: Locate the “Learn” Button on the Liftmaster Climb your ladder and look at the back panel of the Liftmaster motor unit, right below the hanging antenna wire. You are looking for a small, square “Learn” button. Depending on the year your opener was manufactured, this button will be yellow, purple, red, or orange.
Step 2: Activate the Programming Mode Press and immediately release the “Learn” button. Do not hold it down yet! You will see a small LED indicator light turn on or start blinking. This light gives you a 30-second window to complete the next step.
Step 3: Press the Craftsman Remote Within that 30-second window, point your Craftsman remote directly at the motor unit. Press and hold the main button you want to use to open the door.
Step 4: Hold for the Exact Duration Hold the button on the remote down for exactly 3 to 5 seconds. Keep your eyes on the Liftmaster motor. As soon as you see the motor’s overhead lights flash, or you hear a distinct mechanical “click,” release the remote button.
Step 5: Test the Connection Climb down from your ladder and press the remote button once. Your garage door should respond immediately. If it does, congratulations! You have successfully synced the devices.
How to Program a Craftsman Keypad to a Liftmaster Opener
If you are trying to sync an external Craftsman wireless keypad (the one mounted outside your garage) to a Liftmaster opener, the process requires entering a Personal Identification Number (PIN).
- Clear the old memory: Press and hold the “Learn” button on the Liftmaster motor for 6 seconds until the LED turns off. This wipes old remotes from the system.
- Enter your PIN: On your Craftsman keypad, type in your preferred 4-digit code.
- Activate the keypad: Press and hold the “Enter” button on the keypad.
- Sync with the motor: While still holding “Enter” on the keypad, walk over to the motor and press the “Learn” button.
- Release and wait: Release both buttons simultaneously. The motor lights will flash to confirm the new PIN is saved.
DIY Programming vs. Hiring a Professional: Which is Better?
Many homeowners wonder if they should just call a technician to handle this. Let’s look at the facts to help you decide.
| Feature | DIY Programming | Hiring a Professional |
|---|---|---|
| Cost | $0 (Completely Free) | $75 – $150 per service visit |
| Time Required | 5–10 minutes | 1–3 hours (including scheduling and travel) |
| Skill Level | Beginner friendly | Expert handled |
| Risk of Error | Very low (if instructions are followed) | None |
As the table shows, doing it yourself saves you a significant amount of time and money. The process is designed by manufacturers to be user-friendly.
Troubleshooting: Why Won’t My Craftsman Remote Pair with Liftmaster?
If your remote is not working after following the steps, do not panic. Here are the most common culprits and how to fix them.
- The Logic Board is Glitched: Sometimes, the motor’s computer gets confused by power surges. Unplug the Liftmaster opener from the ceiling outlet for 30 seconds, then plug it back in to perform a hard reset.
- Radio Frequency Interference: LED light bulbs installed in the garage door opener can sometimes block radio signals. Try removing the bulbs temporarily to see if the remote starts working.
- Incompatible Age: If your Craftsman remote was manufactured before 1993, it lacks the mandatory auto-reverse safety sensors and operates on an outdated fixed-code frequency. It will not work with a modern Liftmaster opener.
Frequently Asked Questions (FAQ)
Q1: Can I use a Craftsman remote on an older Liftmaster opener? Yes, as long as the Liftmaster opener was manufactured after 1993. You will need to match the color of the “Learn” button on the older Liftmaster to the corresponding frequency of your Craftsman remote.
Q2: How do I reset my Liftmaster garage door opener completely? To perform a full factory reset, locate the “Learn” button on the motor and hold it down for 6 to 10 seconds until the LED light turns off. This erases all previously programmed remotes and keypads from the system’s memory.
Q3: Why does my Craftsman remote only work when I am very close to the door? This is almost always caused by dead or weak batteries in the remote. If replacing the CR2032 battery does not fix the issue, check for radio frequency interference caused by cheap LED light bulbs in the opener unit or a damaged antenna wire on the motor.
Q4: Do I need to reprogram my remote after a power outage? No, modern Liftmaster and Craftsman devices use non-volatile memory. This means they retain their programmed codes even when the power is completely cut off. Your remote will work normally as soon as the power returns.
Conclusion
Learning how to program Craftsman garage door opener to Liftmaster is a highly rewarding DIY task. By understanding the shared technology between these two Chamberlain Group brands, you can easily sync your devices, save money on service calls, and regain full access to your garage in minutes. Always remember to check your batteries and locate that crucial “Learn” button!
If you found this guide helpful and successfully got your garage door working, please share this article on your social media to help friends and family who might be struggling with the exact same issue!



Leave a Reply