If you’re experiencing issues with your garage door opener, performing a reset can often resolve the problem. In this guide, we’ll walk you through the process of resetting your Clicker garage door opener step by step, allowing you to troubleshoot and resolve any issues you may be facing.
Why Reset Your Clicker Garage Door Opener?
Before we dive into the reset process, let’s discuss why you might need to reset your Clicker garage door opener:
- Programming Errors: If your Clicker opener is not responding to commands or behaving unexpectedly, a reset can clear any programming errors that may be causing the issue.
- Interference: Sometimes, external factors such as nearby electronic devices or radio frequency interference can disrupt the communication between your remote and the garage door opener. A reset can help reestablish a stable connection.
- Security Concerns: If you suspect that someone has gained unauthorized access to your garage door opener code, performing a reset can help reset the codes and enhance security.
Step-by-Step Guide to Clicker Garage Door Opener Reset
1. Locate the “Learn” Button
The first step in resetting your Clicker garage door opener is to locate the “Learn” button on the opener motor. This button is typically located near the antenna wire and may be labeled as “Learn” or “Program.”
Read too: Mastering the Art of How to Open a Garage Door Safely and Efficiently
2. Press and Hold the “Learn” Button
Once you’ve located the “Learn” button, press and hold it for approximately 10 seconds. You may need to use a ladder to reach the button, depending on the height of your garage ceiling.
3. Release the Button
After holding the “Learn” button for 10 seconds, release it. You should see a light or indicator on the opener motor that confirms the reset process has been initiated.
4. Reprogram Your Remote Control
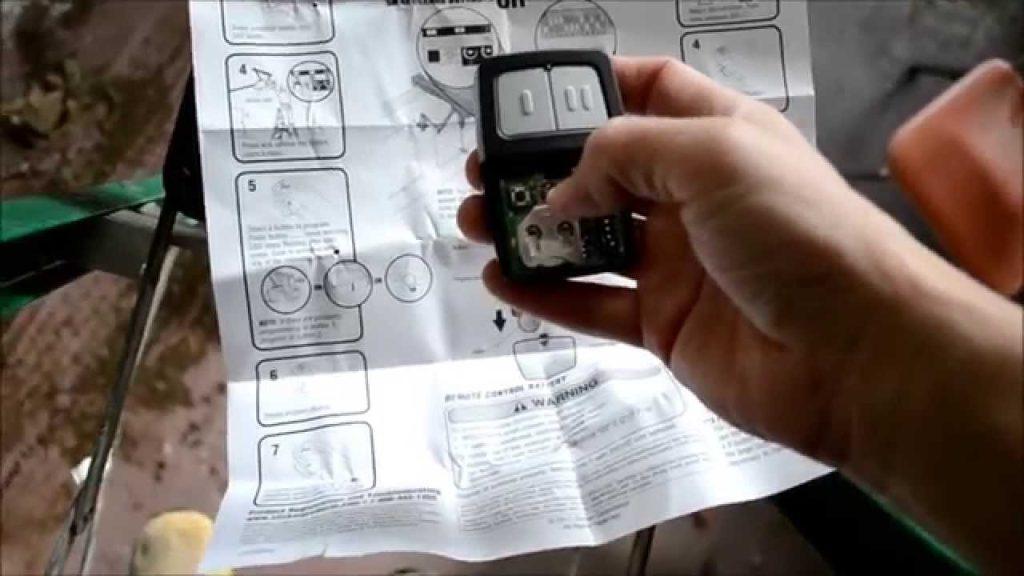
Next, reprogram your Clicker remote control by following the manufacturer’s instructions. This typically involves pressing the “Learn” button on the opener motor again and then pressing the desired button on your remote control to sync it with the opener.
5. Test the Opener
Once you’ve reprogrammed your remote control, test the garage door opener to ensure that it is functioning properly. Press the button on your remote control to open and close the garage door, and verify that it responds as expected.
Conclusion
Performing a Clicker garage door opener reset is a simple yet effective way to troubleshoot and resolve common issues with your garage door opener. By following the steps outlined in this guide, you can quickly regain control over your garage door access and enjoy reliable operation once again.



Leave a Reply