Introduction
Is your garage door refusing to open when you press the remote? You are not alone. Many homeowners face frustration when their Access Master system loses synchronization or when they need to add a new remote control. Knowing how to program an Access Master garage door opener can save you hundreds of dollars in service fees and restore convenience to your daily routine. In this guide, we will walk you through the exact steps to get your system working perfectly again.
Understanding Your Access Master System
Before diving into the programming process, it is crucial to identify which type of Access Master opener you have. Access Master is a brand often associated with Chamberlain Group products, meaning many models share similar technology with LiftMaster and Craftsman openers.
Most modern Access Master units use one of two security technologies:
- DIP Switches: Older models featuring small physical switches inside the remote and motor unit.
- Smart/Learn Button: Newer models using rolling code technology for enhanced security.
Identifying your model ensures you follow the correct procedure. Using the wrong method can erase existing codes or fail to sync the new device.
Why Proper Programming Matters
According to industry standards, improperly programmed garage door openers can pose security risks. Rolling code technology changes the access code every time you use the remote, preventing thieves from “code grabbing.” By following the official programming steps, you ensure your home remains secure while maintaining functionality.
For more technical details on garage door safety standards, you can refer to Wikipedia’s entry on Garage Door Openers.
Step-by-Step: How To Program An Access Master Garage Door Opener
This section covers the most common scenario: programming a standard remote control to a motor unit with a “Learn” button.
Step 1: Locate the Learn Button
Climb a sturdy ladder to access the motor unit mounted on your garage ceiling. Look for the Learn Button. It is typically located on the back or side of the motor housing.
- Color Code: The button is usually yellow, purple, orange, or red.
- LED Indicator: Next to the button, there should be a small LED light.
Safety Tip: Ensure the garage door area is clear of people and objects before starting any maintenance or programming tasks.
Step 2: Clear Old Codes (Optional but Recommended)
If you are reprogramming because the remote stopped working, or if you suspect interference, it is best to clear the memory first.
- Press and hold the Learn Button for about 6–10 seconds.
- Release the button when the indicator LED turns off.
- This action erases all previously paired remotes and keypads. You will need to reprogram all devices after this step.
Step 3: Initiate Programming Mode
- Press the Learn Button once briefly. Do not hold it down.
- The indicator LED will turn on or start blinking. This signifies that the opener is now in “learning mode.”
- You have approximately 30 seconds to complete the next step. If the light goes out, you must start over.
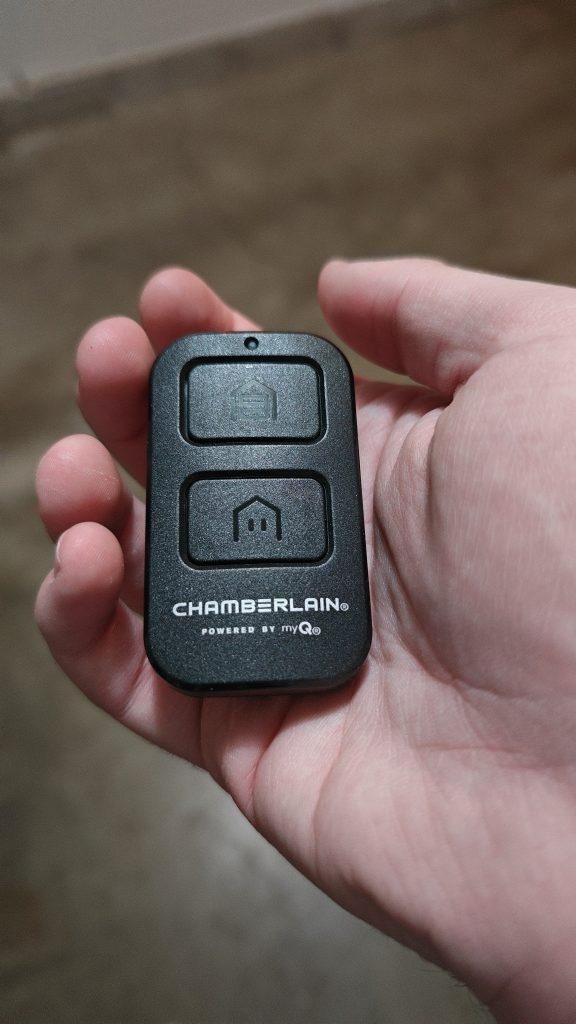
Step 4: Sync the Remote Control
- Pick up the remote control you wish to program.
- Press and hold the button you want to assign to the door (usually the large main button).
- Hold it until you see the motor unit’s lights flash or hear two clicks.
- Release the button immediately.
The flashing lights or clicks confirm that the code has been successfully transmitted and stored.
Step 5: Test the Connection
Stand at a safe distance from the garage door and press the programmed button on your remote. The door should activate. If it does not respond, repeat Steps 3 and 4, ensuring you are within range and the remote has fresh batteries.
Programming a Wireless Keypad
Many Access Master systems also support wireless keypads for keyless entry. The process is slightly different but equally straightforward.
- Enter your desired 4-digit PIN on the keypad.
- Press and hold the Enter or Send button.
- While holding the button, press the Learn Button on the motor unit.
- Release both buttons simultaneously.
- Test the keypad by entering your PIN and pressing Enter. The door should operate.
| Feature | Remote Control | Wireless Keypad |
|---|---|---|
| Primary Use | Vehicle access | Pedestrian access |
| Programming Time | < 30 seconds | < 30 seconds |
| Battery Type | Coin cell (CR2032) | 9V or AA batteries |
| Security Level | High (Rolling Code) | High (Rolling Code) |
Troubleshooting Common Issues
Even with careful following of instructions, things can go wrong. Here are solutions to frequent problems.
The Remote Won’t Program
- Check Batteries: Weak batteries are the most common cause of failure. Replace them with high-quality alkaline or lithium batteries.
- Interference: LED light bulbs in the garage can emit frequency interference. Try turning off the garage lights and reprogramming.
- Distance: Stand closer to the motor unit during programming. Ideally, be within 5 feet of the antenna.
The Door Reverses Immediately
If the door starts to close but then reverses back up, it is likely a safety sensor issue, not a programming error.
- Check the photo-eye sensors near the floor.
- Ensure nothing is blocking the beam.
- Clean the lenses with a soft cloth.
- Verify that the sensors are aligned correctly (both LEDs should be solid, not blinking).
DIP Switch Models
If your Access Master opener is an older model with DIP switches:
- Open the remote control casing.
- Match the switch positions (Up/Down) exactly to those inside the motor unit.
- There is no “Learn Button” on these models; the physical alignment of switches creates the code.
Expert Tips for Long-Term Maintenance
To ensure your Access Master garage door opener lasts for years, consider these professional recommendations:
- Lubricate Moving Parts: Use a silicone-based lubricant on the chain or screw drive every six months. Avoid WD-40 as it attracts dust.
- Inspect Cables: Look for fraying or wear on the lift cables. If damaged, call a professional immediately.
- Update Batteries Annually: Change remote batteries once a year, even if they seem fine, to prevent unexpected failures.
FAQ Section
Q1: Can I program a universal remote to my Access Master opener?
Yes, most universal remotes are compatible with Access Master systems. You will need to set the universal remote to the correct brand code (often Chamberlain, LiftMaster, or Sears) before following the standard programming steps.
Q2: How do I know if my opener uses rolling code technology?
Look at the Learn Button on the motor unit. If it has a color (yellow, purple, etc.) and an LED light, it uses rolling code technology. If it only has DIP switches, it uses fixed code technology, which is less secure.
Q3: What should I do if I lost all my remotes?
If you have no working remotes, you cannot enter programming mode using a remote. However, you can still program a new remote by using the Learn Button on the motor unit directly. Simply press the Learn Button, then press the button on the new remote within 30 seconds.
Q4: Why does my garage door opener work intermittently?
Intermittent operation is often caused by radio frequency interference from nearby appliances, LED bulbs, or neighbors’ openers. Try changing the frequency dip switches (if applicable) or replacing light bulbs with incandescent ones to test for interference.
Q5: Is it safe to program the opener myself?
Yes, programming the remote is safe and does not involve handling high-voltage electrical components. However, always exercise caution when using ladders and ensure the door path is clear.
Q6: Can I program multiple remotes to one opener?
Absolutely. Most Access Master openers can store codes for multiple remotes and keypads. Just repeat the programming steps for each additional device. Note that if you clear the memory, you must reprogram all devices.
Conclusion
Learning how to program an Access Master garage door opener is a valuable skill that empowers you to maintain your home’s security and convenience. By identifying your model, locating the Learn Button, and following the simple sync steps, you can resolve most connectivity issues without professional help.
Remember to keep your batteries fresh and your sensors clean for optimal performance. If you found this guide helpful, please share it with friends or family who might be struggling with their garage doors. A well-functioning garage door is a happy garage door!
Disclaimer: Always refer to your specific model’s user manual for detailed instructions. If you encounter electrical issues or mechanical failures, consult a certified garage door technician.


Leave a Reply